My passion for space began as a child, looking through my father’s telescope at the planets and moon. My goal has always been to inspire other people with my images and get more public support for exploration of our skies. I dream of seeing us explore more of our solar system in my lifetime, and maybe, one day, be able to slip the surly bonds of Earth myself.
My process of shooting begins with a rough plan. Each target has a different process. I’ll check atmospheric conditions and weather reports, make sure seeing is good, skies are clear, and humidity won’t be too bad.
Many times, a full evening of acquisition and hours of processing will result in a terrible image due to tracking errors, equipment fogging, sensors overheating, or atmospheric conditions, so this still takes perseverance and sometimes a bit of luck even with all the work and precautions I take. When I get a nice, clean, noise-free and sharp image, it is incredibly gratifying. The response I get after sharing my images is even more gratifying!
More info: Instagram | linktr.ee
Waxing crescent moon
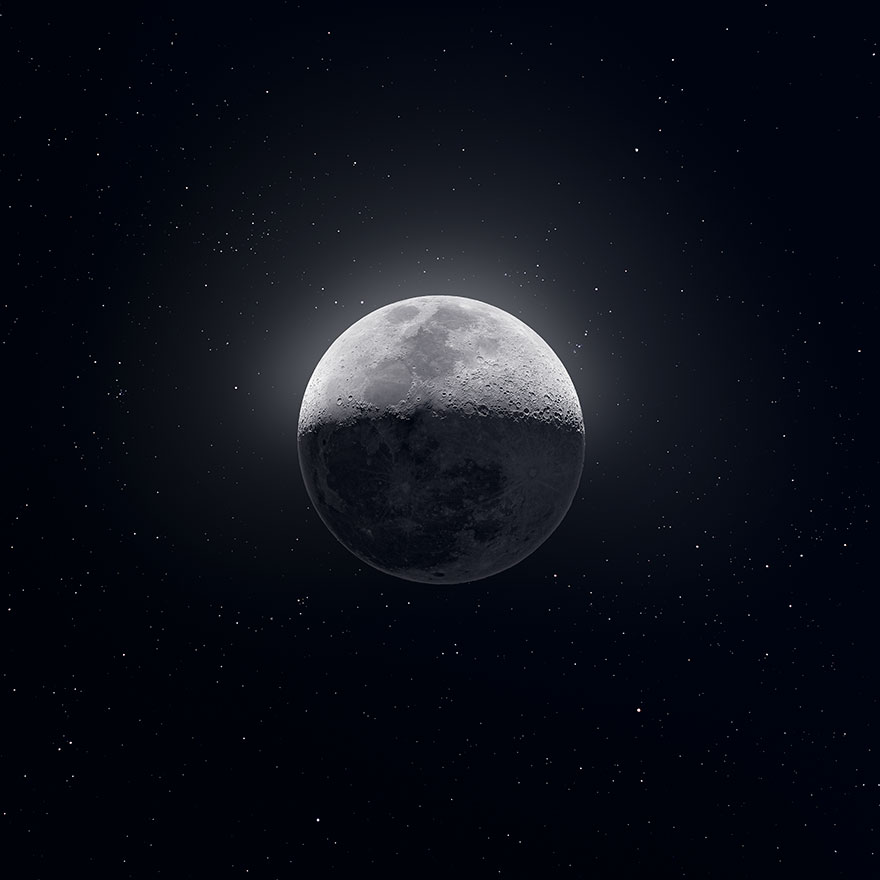
This is my most popular image to date. I combined 50,000 images to make a 81 megapixel image of our moon.
Super snow moon
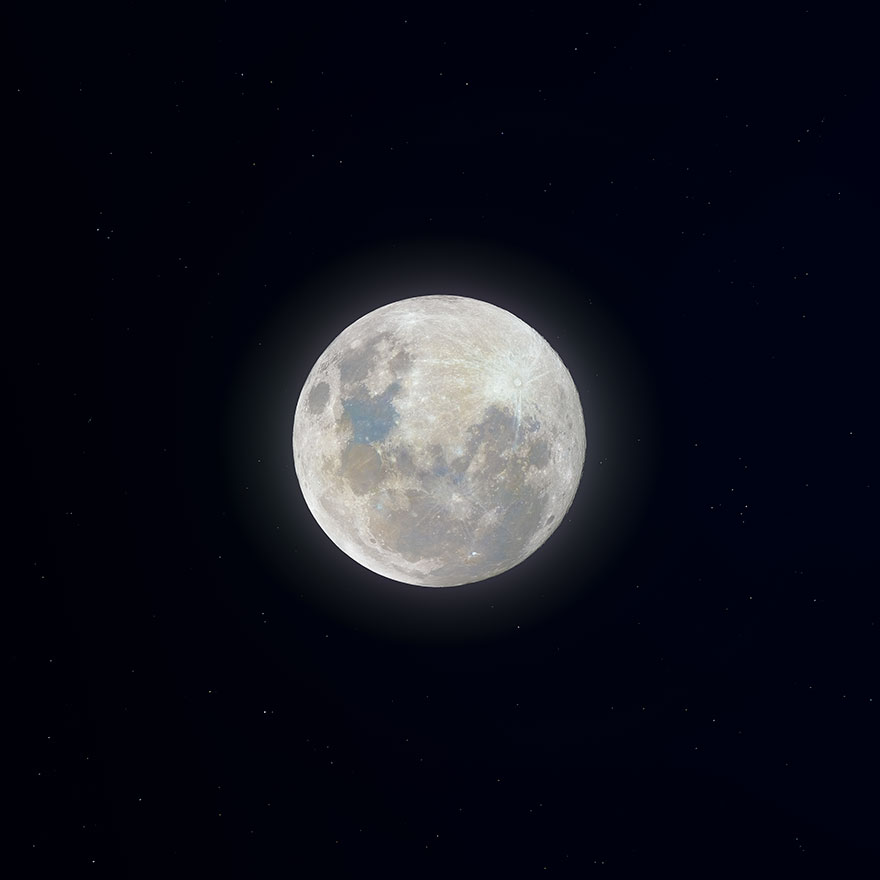
A shot of the full moon during its perigee, it’s the closest point to Earth. The atmosphere was a bit erratic during the night I took these shots, so, unfortunately, there are a few areas that don’t have the crystal-clarity that I would have liked, but overall I’m pretty happy with it. This is a 225-megapixel image created from 150,000 images.
Mineral moon
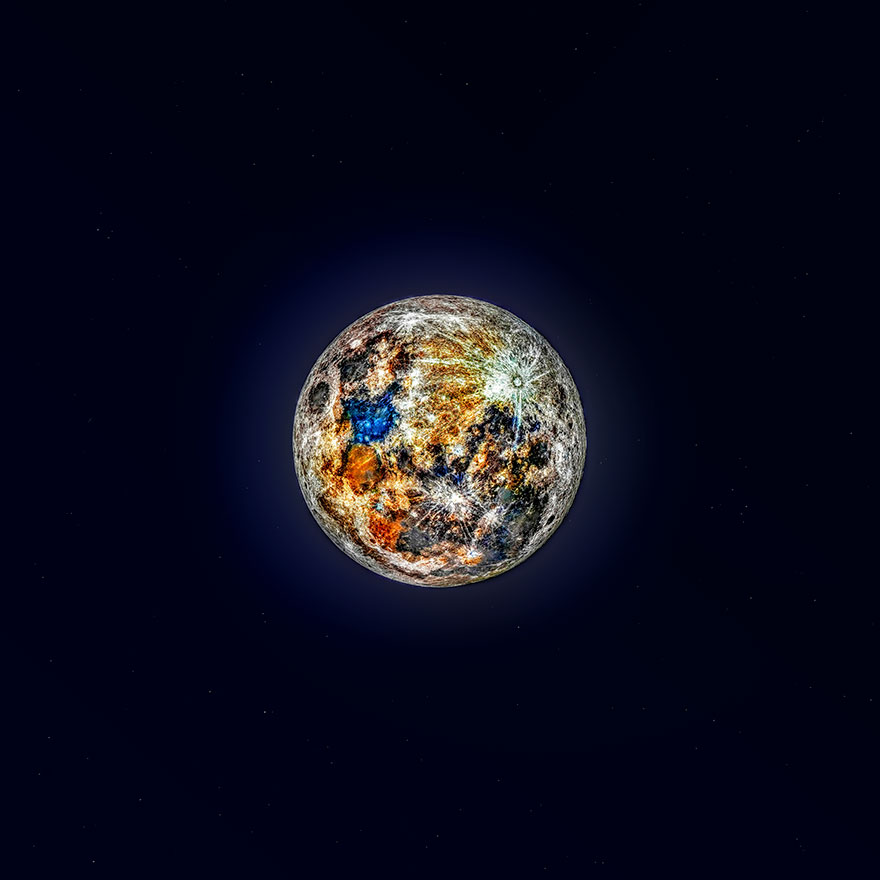
This is our full moon, processed with color highly enhanced to show variations in the lunar regolith, a result of various impacts revealing varying mineral compositions. I took the color data from my supermoon picture and embellished it. You can see where each impact “paints” a new splash of color on the surface of the moon.
Solar system
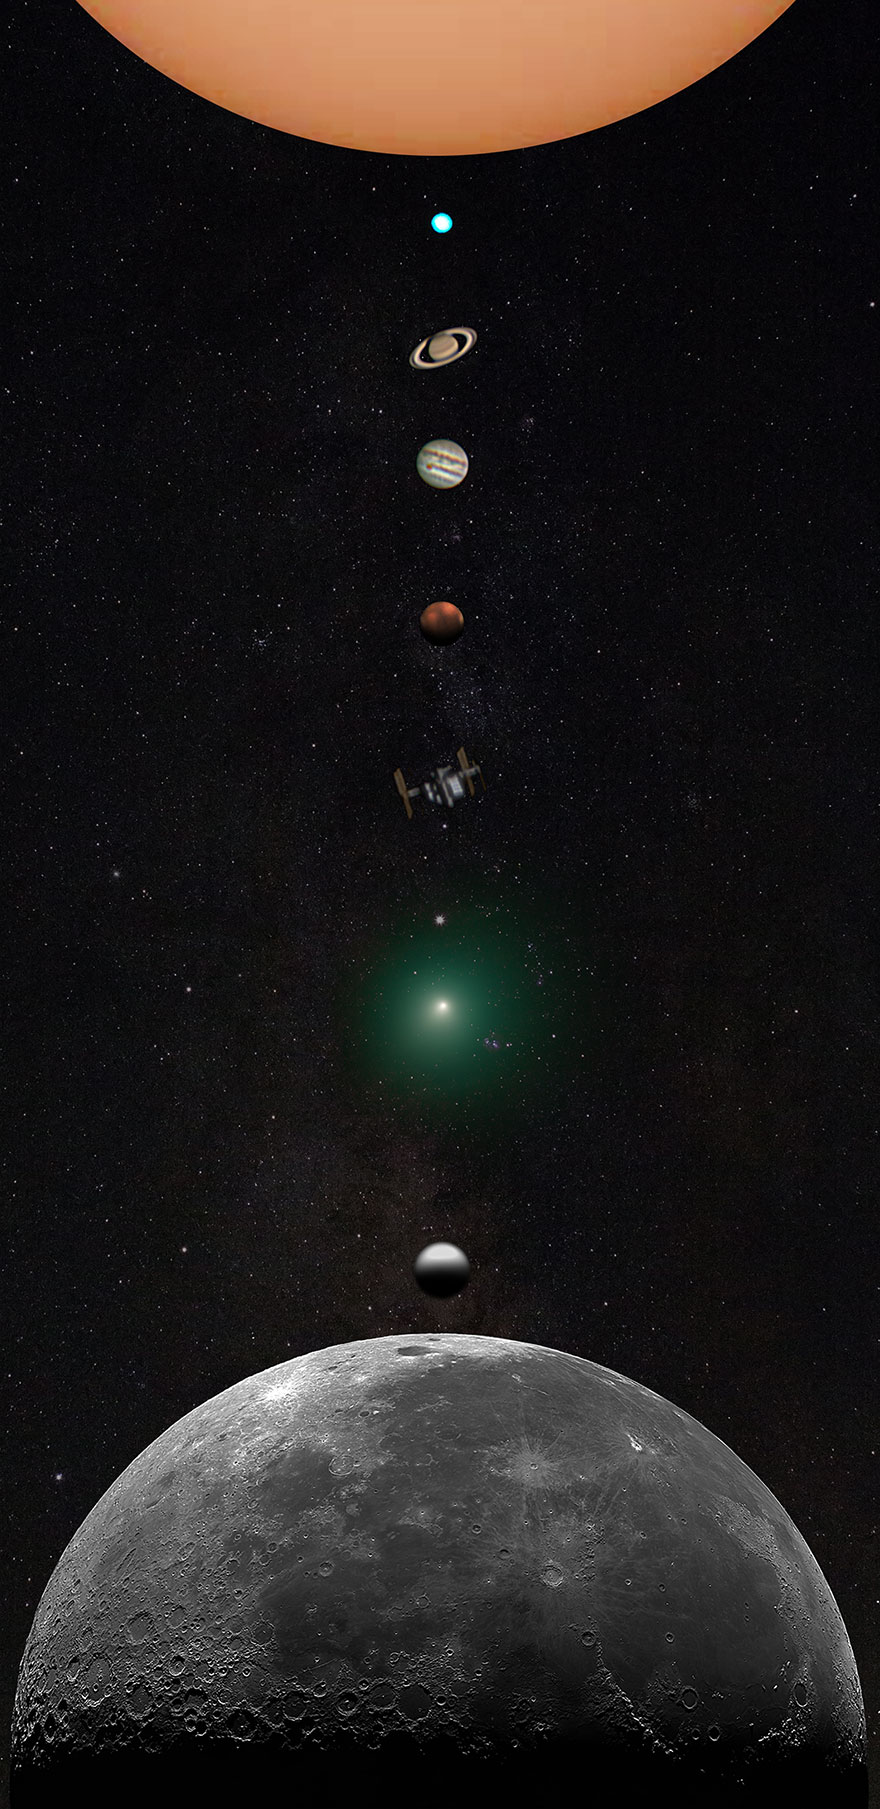
Our solar system as a composite of images I took in 2018.
Blood moon
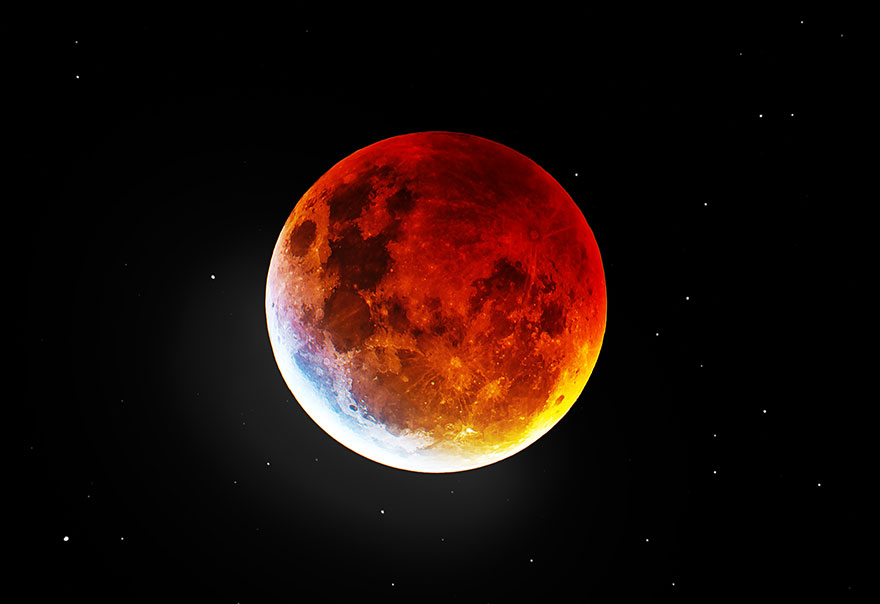
My first hack at processing the blood moon. Working on a timelapse as well, hopefully I acquired enough useable frames to make that work.
My last picture of the moon
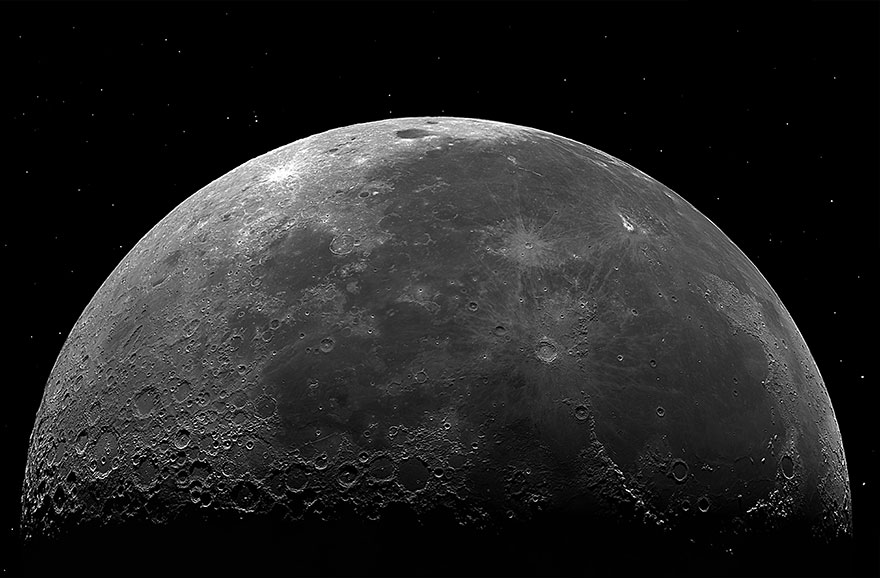
Flipped my last moon pic and brought out a touch of earthshine and stars.
Lunar shot with the milky way

Sharpened and re-edited an old lunar shot with the milky way in the background, a way of visualizing how the moon would look if you were floating out in space in front of it.
If I’m shooting the moon, this is roughly my process:
• Set up a mount, attach telescope. Polar align the scope with polaris. Balance the scope.
• Attach first camera. Using a bahtinov mask, I find a bright star and get a precise focus by making careful adjustments until the diffraction spikes are perfectly symmetrical.
• If the moon is still low in the sky, I start with the color shots using my sony camera. I take hundreds of pictures with it. If I am using a barlow lens, I have to pan around the moon as I do it, so I can have several image stacks to be combined later. If I am shooting “Earthshine” on the unlit portion of the moon, I take stacks in varying exposure lengths, to be sure I have enough data to work with later.
• Now I attach a different camera, and refocus. If there is a temperature drop I would have had to focus again anyway, because the cold air will shrink the tube. The Second camera I use is focused on detail. It has a higher pixel density than the Sony I use, and is capable of much higher framerates. I shoot around 2000 pictures per tile. Each batch only takes a few seconds at 150fps.
• If I am capturing stars, I then switch to a 300mm lens on my Sony camera. I focus again using a tiny bahtinov mask. I take hundreds more pictures of the sky around the moon. The moon will produce a huge glare, but it will be removed later in post-processing.
• Take cameras in and upload everything. I upload the batches of data into special software that will work all night and most of the next day to automatically align and stack the images.
• The following evening I take the data, which consists of dozens of stacked tiles, and load them into photoshop as a few different files. I have photoshop attempted to automatically “stitch” the image together. At this point I have a good Ideal how my final image will look.
• I stack my 300mm data manually. I then duplicate the stacked image, flip it, and subtract it from itself. That eliminates the glare, and leaves just stars, Which have to be white balanced and sharpened as most of them appear as faint gray blobs..
• I then stack the multiple files together. The detail shot, the color shot, the star shot, and the shots with just the glare from the moon (as an aesthetic choice) to create a final image to adjust.
• Make adjustments until I am happy with the finished image.
by Andrew McCarthy via Bored Panda - Source

No comments: